Transform Your Backyard with This DIY Basketball Court Installation Guide!
Call us today at 1‑800‑664‑3865
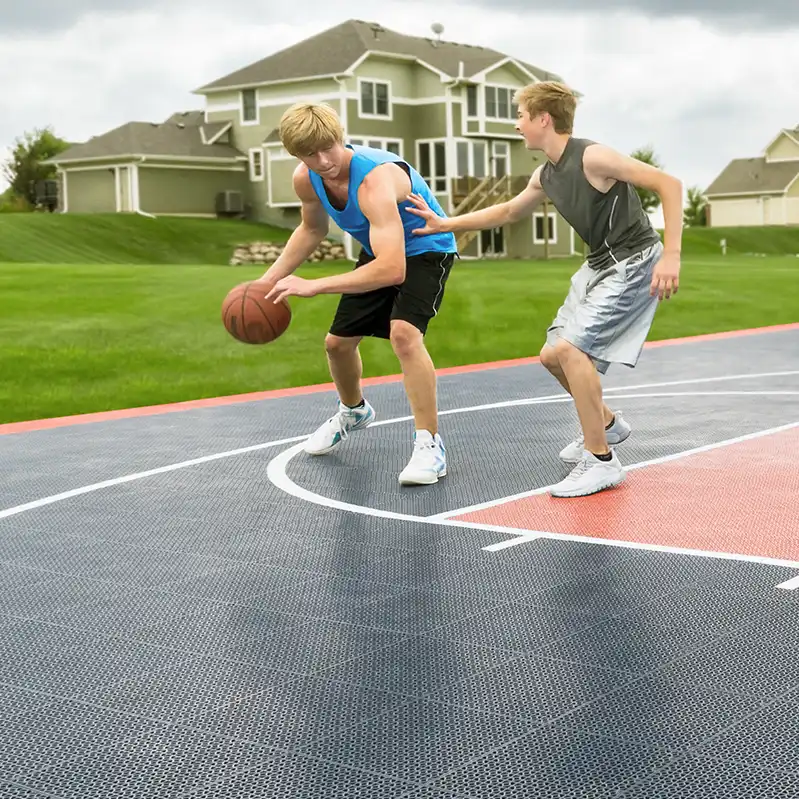
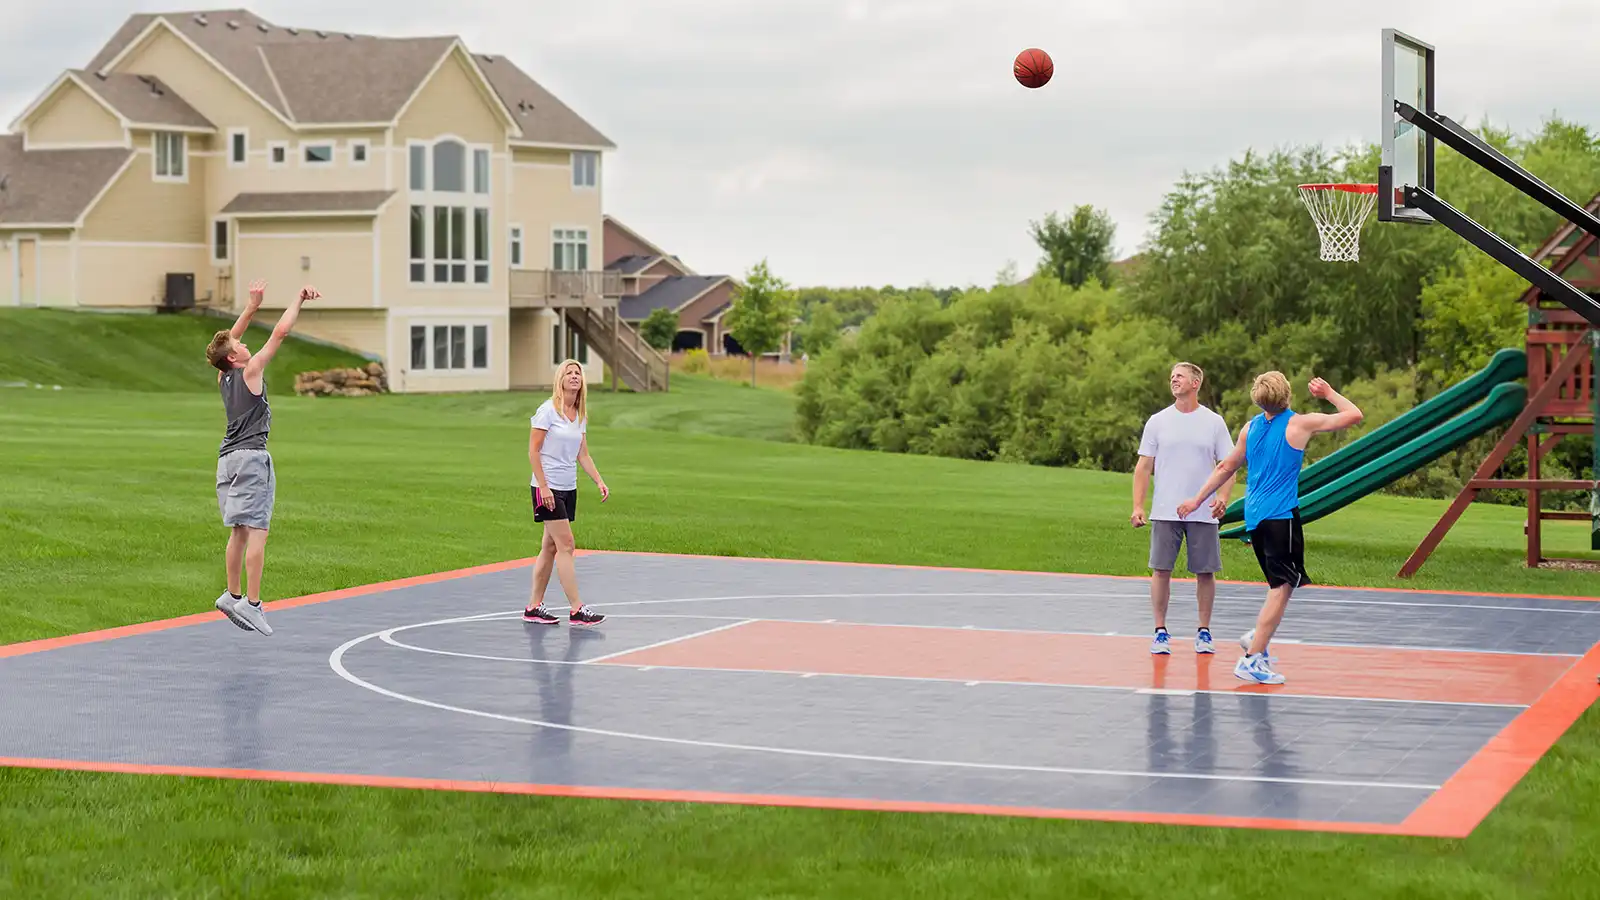
Whether it’s for shooting hoops, practicing pickleball, or setting up a family-friendly sports space, installing SnapSports flooring may just be your next dream DIY project.
With its user-friendly design and premium-quality surfaces, SnapSports is a game-changer for creating personal courts like a DIY backyard basketball court or a driveway basketball court. Plus, you’ll save on court installation costs while adding functionality and fun to your property.
This guide will walk you through everything from prepping the subsurface to laying the final tiles, ensuring your sports flooring is installed flawlessly. Whether you aspire to craft a small backyard basketball court or your very own pickleball sanctuary, this step-by-step guide has got you covered.
Call us today at 1‑800‑664‑3865
Get Your Free Quote
Tools and Materials Checklist
Before starting your DIY flooring project, gather these essential tools to ensure a smooth installation process:
- Court Tiles (Available from SnapSports)
- Measuring tools – 30’ and 100’ tape measures
- Chalk box with brightly colored chalk
- Plumb bob and masonry spool
- Utility knife with replacement blades
- Knee pads for comfort
- Circular saw, jigsaw, or Magnum Shear for tile trimming
- Safety glasses for tile trimming
- Non-marking athletic shoes
Why SnapSports Flooring is Perfect for Your DIY Court
SnapSports flooring isn’t just easy to install—it’s engineered to transform your playing area with professional-level quality. Whether you’re creating a basketball court DIY or setting up a multi-purpose space, here are some of the benefits that make SnapSports stand out:
- Durable and Weatherproof: Perfect for both indoor and outdoor applications, the tiles are built to endure heavy foot traffic and the elements.
- Customizable Design: Install your preferred color patterns, game lines, and finishes with ease.
- Perfect Versatility: Ideal for multiple sports like basketball, pickleball, tennis, and more.
- Cost-effective Solution: Say goodbye to the high basketball court installation price; SnapSports makes it affordable to build your dream court.
Now, ready to take that first step? Here’s how to make it happen.
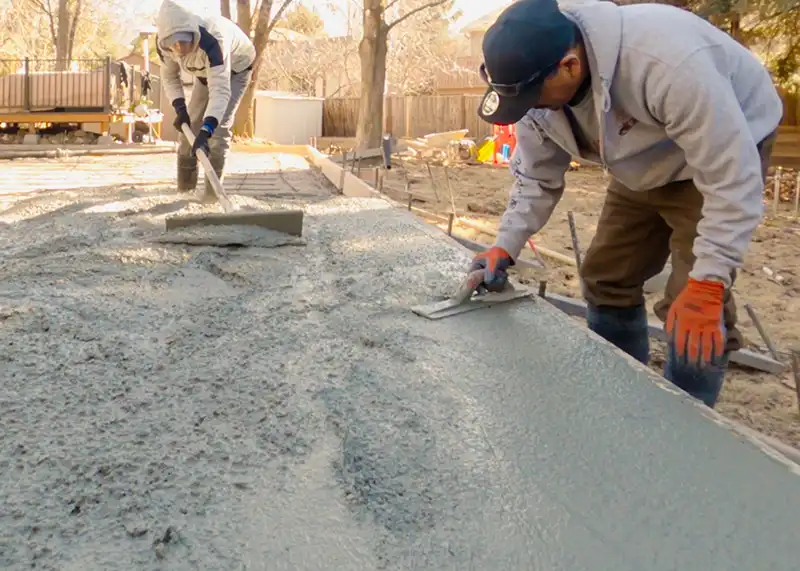
Prepping the Concrete Subsurface
To achieve professional-level performance, your subsurface must be clean, even, and properly prepared:
1. Level Your Subsurface
SnapSports recommends a level tolerance of no more than +/- 1/8″ in any 10’ radius. Use a level or hire a professional to smooth the surface if necessary.
Got a driveway basketball project in mind? Check the existing concrete to confirm it meets the recommended standards.
Download Concrete Specifications
2. Remove Debris
Sweep away all dirt, dust, and other debris to prevent imperfections in your flooring. A solid, clean foundation is key for ensuring an excellent playing experience.
Got a driveway basketball project in mind? Check the existing concrete to confirm it meets the recommended standards.
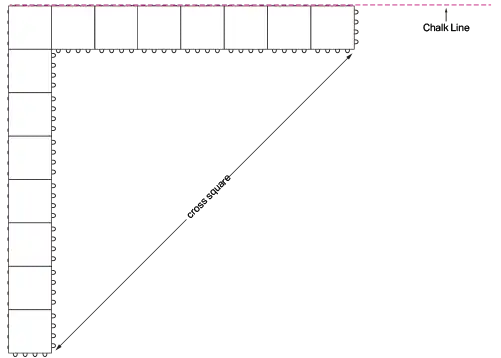
3. Plan Placement for Game Fixtures
Mark the center of key areas, such as basketball backboards or volleyball pole placements, using a plumb bob and chalk line. Starting from the center ensures symmetry in your design.
Step-by-Step Installation
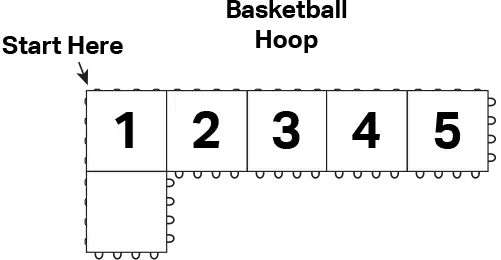
1. Determine Your Starting Point
Start at a corner or the center of your court. For basketball court installations, align your tiles with the center point of the backboard.

2. Lay and Align the Tiles
Arrange your tiles with loops facing consistently in the same direction. For the first row:
- Engage the male pegs into the female loops
- Ensure alignment by following a chalk string line
3. Expand in an “L” Shape
Snap in rows lengthwise, forming an “L” pattern for stability. Avoid going too wide at any one time, as this can cause misalignments.
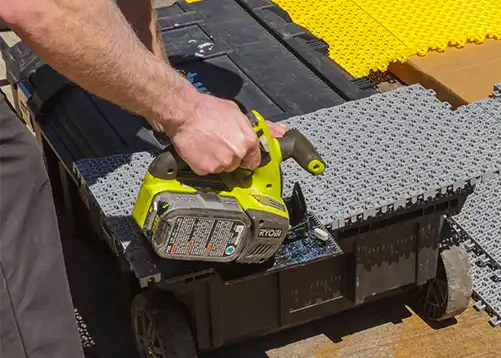
4. Trim Around Obstacles
Use a circular saw, jigsaw, Magnum Shear, or table saw to cut tiles when fitting around fixed objects like net poles, fences, or walls. Leave expansion gaps:
- Indoor courts: Leave a ½” gap around the perimeter.
- Outdoor courts: Allow for 1”–1.5” for thermal expansion based on the time of year.

5. Add Edges and Borders
Snap in ramp edging around exposed sides to give the court a finished look and to reduce trip hazards. These edges attach just like the tiles.
By now, your DIY pickleball court or backyard basketball court should be nearing completion!
Final Touches and Maintenance
Conduct a Final Check
Inspect the court for gaps, misplaced tiles, or uneven sections. Snap or adjust as necessary to complete the design.
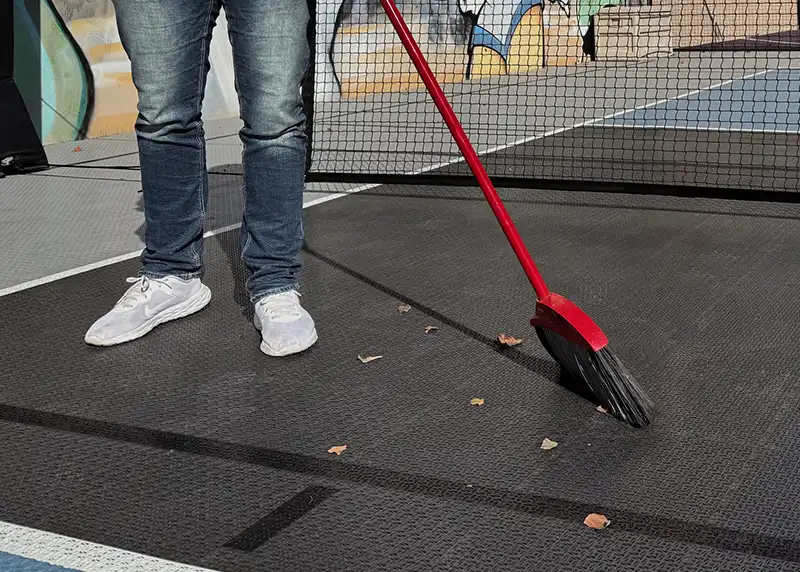
Easy Maintenance Tips
- Routine Cleaning: Simply sweep or hose down the tiles to keep your court clean and looking sharp.
- Seasonal Care (Outdoor Courts): During extreme weather, monitor the expansion gap for any necessary adjustments to prevent warping.
- Durability Measures: Avoid dragging heavy objects across the tiles.
By following these steps, your SnapSports court will stay game-ready season after season.
Why DIY SnapSports Installation Makes Sense
Creating your own DIY backyard basketball court or pickleball court gives you full control. Here’s why SnapSports is the smart choice:
- Accessible for All Skill Levels: No construction expertise needed—our tiles make installation effortless for just one or two people.
- Cost-Effective Excellence: You can dodge steep installation prices with our intuitive DIY system. Wondering, “How much does it cost to install a pickleball court?” With SnapSports, it’s probably far less than you imagine!
- Family Fun, Anytime: Build courts tailored to your needs and turn your driveway or backyard into a hub for fitness and fun.
SnapSports empowers you to bring your vision to life—whether you’re installing a driveway basketball court for competitive play or a versatile multipurpose court for the family.
Your DIY Adventure Starts Here
With SnapSports flooring, transforming your backyard, garage, or driveway into the ultimate sports space has never been easier. From basketball to pickleball, your court will become the envy of your neighborhood.
Are you ready to take the leap and create your dream court?